CHRIS ENRIGHT FINE WOODWORKING
Home
Electric Guitars
Guitar Gallery
>
Crimson
Tele Type
GFR P90
Wave
Wave 12
Claro Graft
American River Birds
Redwood
Sean30
Cherry/Olive
Gretsch/Oak
Steve's Guitar
Burst
Giants
Kiesman
Yin Yang (Russell)
Bass 1
Lotus
Bigsby
CRick
Guitar Building Process
Contact Chris Enright
Fine Furniture
Process
Gallery
>
Kill My Television Cabinet
Hall Table
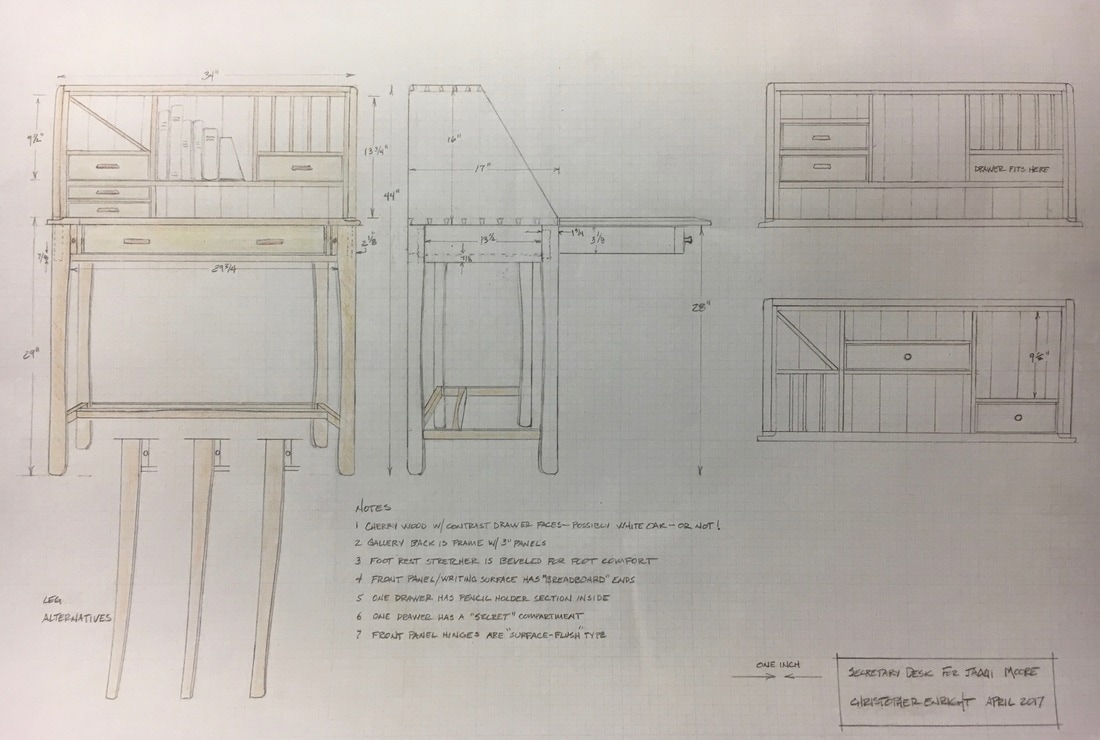
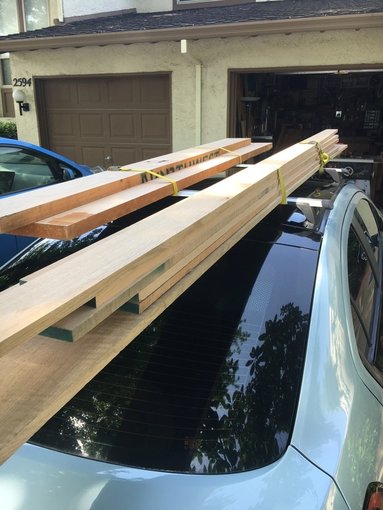
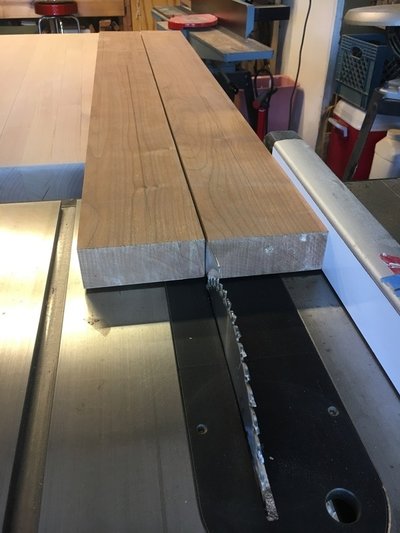
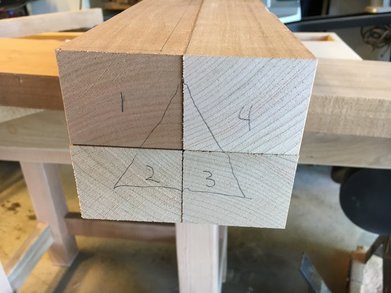
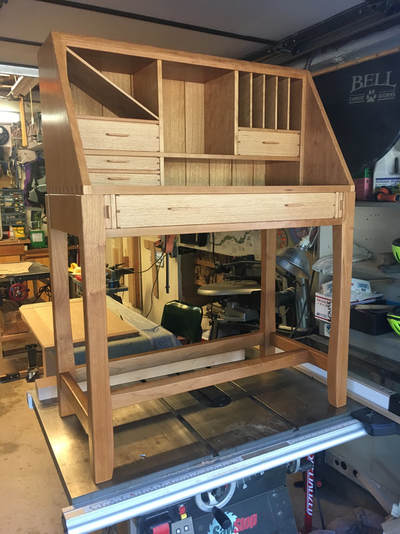
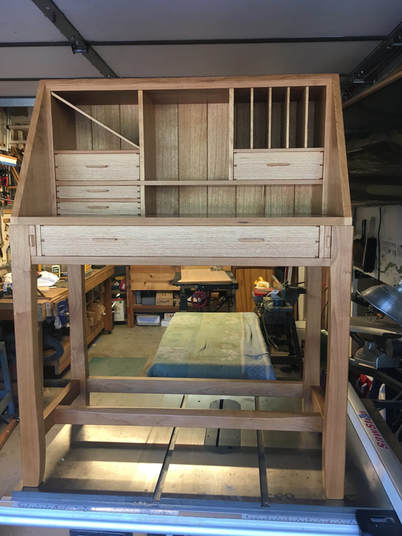
Secretary Desk
Phi Cabinet
American River Coffee Table
Occasional Table
Corner Cabinets
Bed-side Table
Jewelry Box
Reach Across Table
Settee
Guitar Rack
Reach Across Table 2
Bedside Tables
Rainbow Bridge table
Commission a Custom Furniture Piece
>
Contact
About
Resources and References
Slides of all work
Furniture Blog
About
Home
Electric Guitars
Guitar Gallery
>
Crimson
Tele Type
GFR P90
Wave
Wave 12
Claro Graft
American River Birds
Redwood
Sean30
Cherry/Olive
Gretsch/Oak
Steve's Guitar
Burst
Giants
Kiesman
Yin Yang (Russell)
Bass 1
Lotus
Bigsby
CRick
Guitar Building Process
Contact Chris Enright
Fine Furniture
Process
Gallery
>
Kill My Television Cabinet
Hall Table
Secretary Desk
Phi Cabinet
American River Coffee Table
Occasional Table
Corner Cabinets
Bed-side Table
Jewelry Box
Reach Across Table
Settee
Guitar Rack
Reach Across Table 2
Bedside Tables
Rainbow Bridge table
Commission a Custom Furniture Piece
>
Contact
About
Resources and References
Slides of all work
Furniture Blog
About


 RSS Feed